

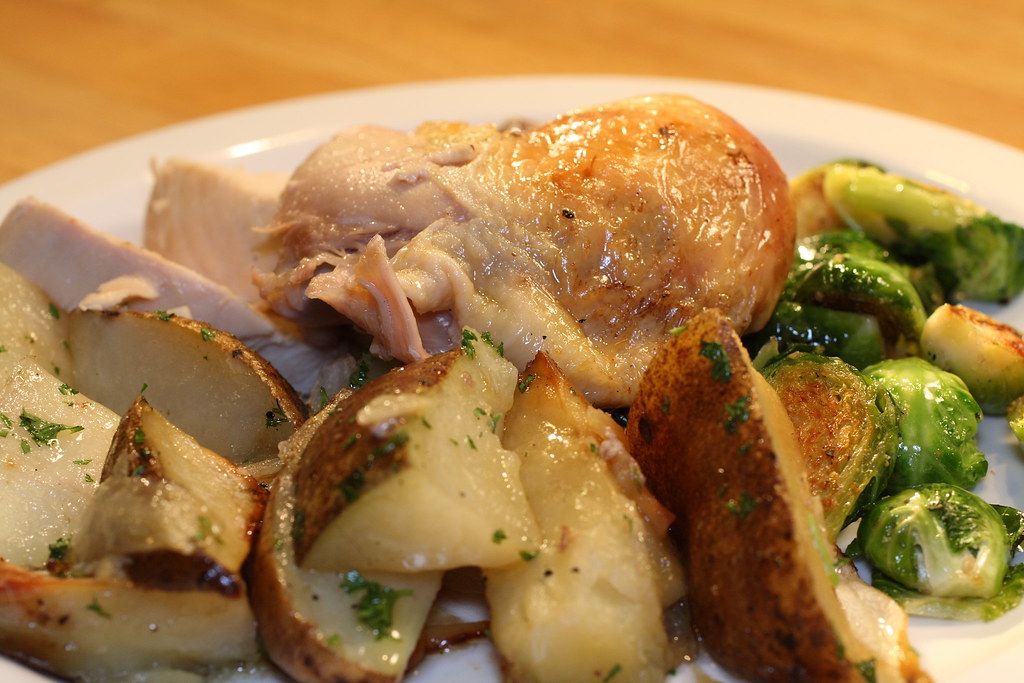
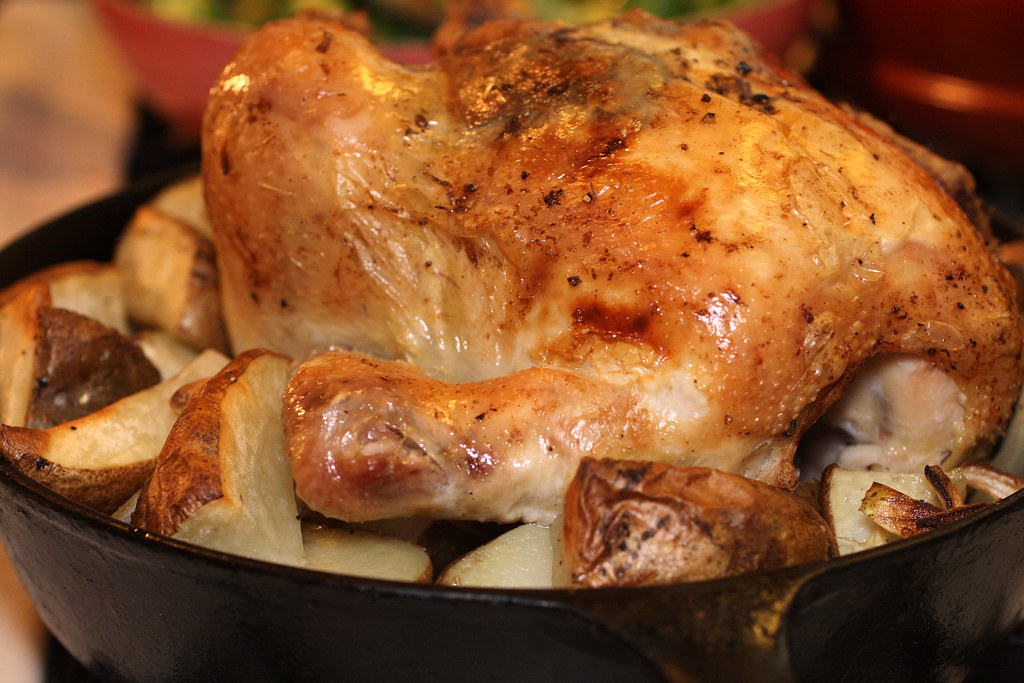
The aroma of a roasting bird makes the entire house smell amazing and the sizzle coming from the oven makes you drool with anticipation! There are many ways to roast your chicken, pan roast with or without a roasting rack, stuffed, cooked on a bed of root vegetables and a variety of herbs and spices and rubs, in a slow cooker or dutch oven or any dozens of other ways. We are somewhat purist when it comes to roasting chickens. A little butter, rosemary, lemon, garlic, salt and pepper. Then a little more butter. Then its fire and forget, just drop it in the preheated oven and carve it up when its done. That's it folks! Simple and perfect every time. As for cooking technique, we like like it nestled on a bed of potatoes and onions in a big cast iron skillet. This is actually a great excuse to buy one (or in our case, a bigger one!). Since Charisse is not a huge gravy fan this suits us just right. All the fantastic juices are soaked up by the veggies and potatoes and re-soaked up by the chicken so its juicy and tender. If you are a gravy lover than we suggest that you roast your bird in a roasting pan so you can cook up your sauce post cooking. This is an amazingly easy meal that is always sure to impress! And in answer to our dear friend, yes the whole chicken comes pre-assembled!
Pictures and Recipe after the break


Skillet Roasted Chicken
What You Will Need
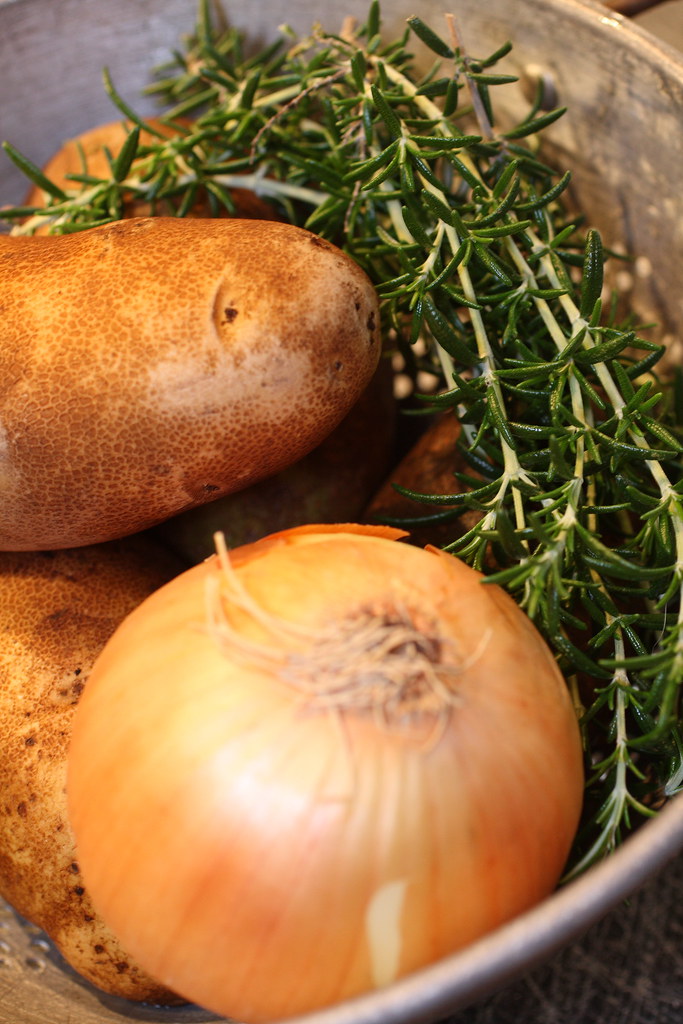
1 whole chicken
1 lemon (quartered)
4 cloves of garlic
5 Tbs butter (divided)
salt and pepper
a few sprigs of fresh rosemary
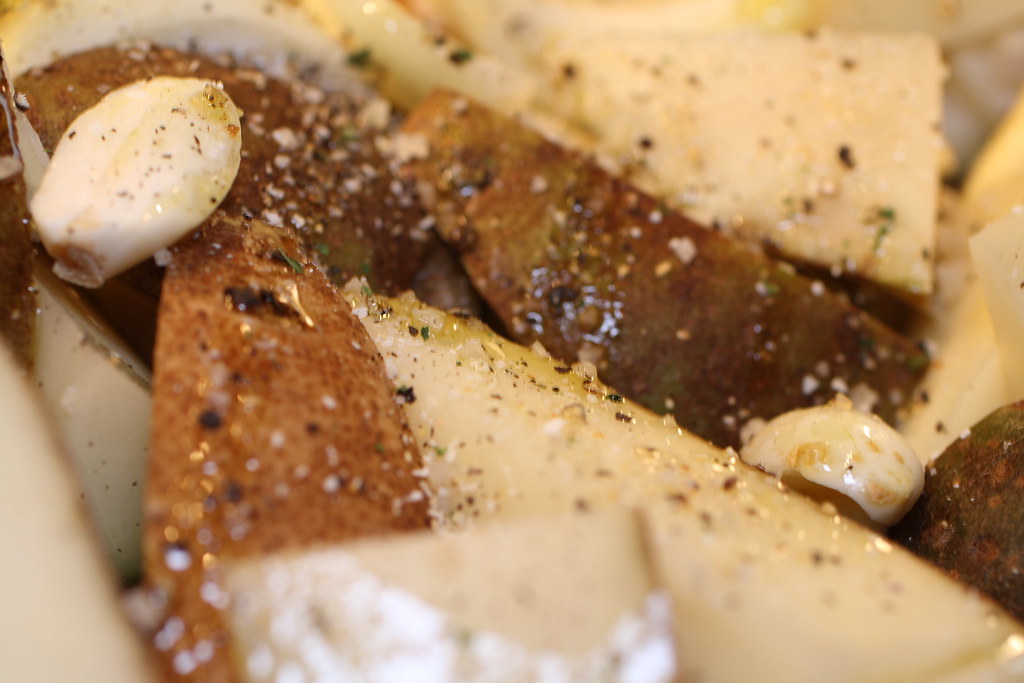
4 medium potatoes (quartered)
1 large onion (quartered)
a bit of olive oil
Preheat oven to 425*
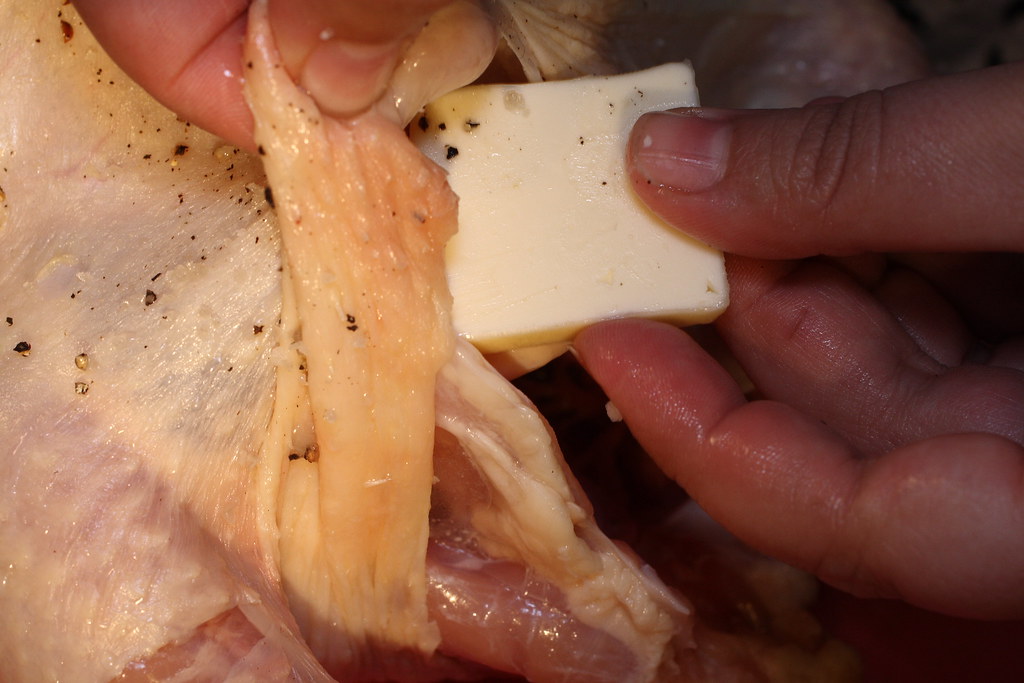
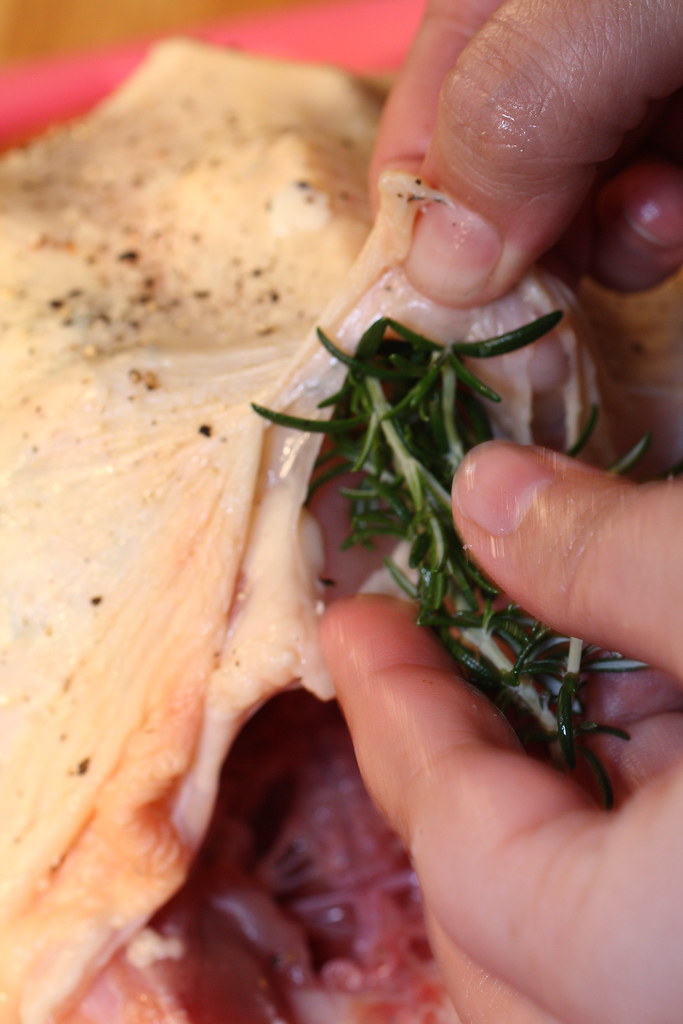
Get your chicken and rinse out the cavity, making sure that all bits of leftover insides (guts) are removed. You can also cut out any excess fat around the neck or cavity if you like (but it totally adds flavor if you leave it there). Use some paper towels to dry the skin as much as possible. This will make the skin nice and crispy. The drier the skin the crispier the chicken! Salt and pepper the inside of the cavity and separate the skin from the breasts of the chicken so that there are pockets. This is where the good stuff goes!
In the pockets between the breast and the skin, stuff 2 pats of butter, a sprig of rosemary and 2 cloves of garlic on each side. In the cavity, stuff with the quartered lemons and the rest of rosemary.
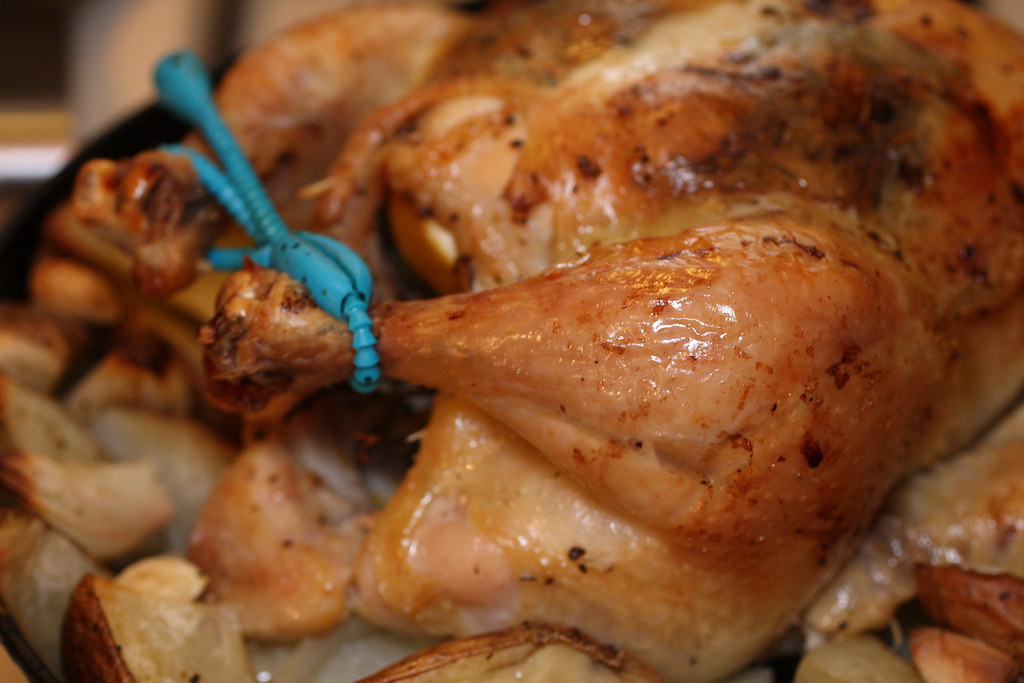
In your well seasoned cast iron skillet, place the potatoes and onions and toss in a bit of olive oil with salt and pepper to coat. Make a hole in the center and nestle your chicken breast side up into the potatoes and onions. Tuck the wings under and tie up the legs. This helps keep these delicate parts of the bird from browning too fast.
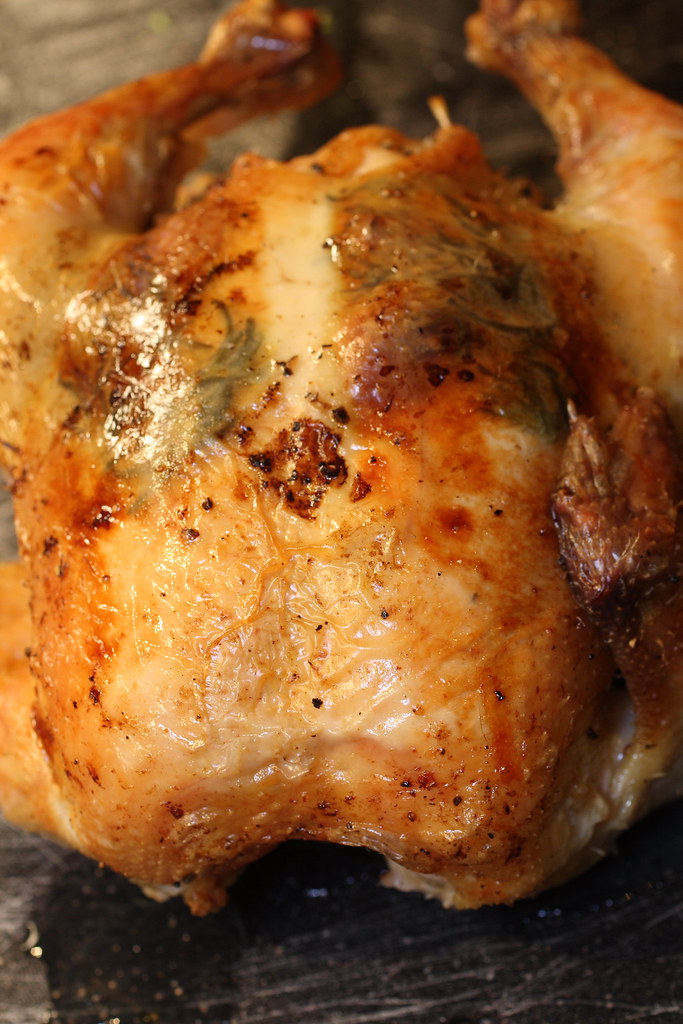
Next is the most important part of a browned chicken, you need to use some sort of fat to massage onto the skin of the bird so that the skin will become brown and crispy. You can use butter or canola oil, or if you are lucky enough to have some, try duck fat. Use just enough to cover the top and sides of the chicken and rub the chicken down making sure not to over do it.
How you place the skillet makes a big difference in how the bird cooks. This is what we usually do. Place the skillet directly in the oven feet first, cook for 25 minutes with the feet facing the back of the oven. After the first 25 minutes, rotate the bird so that the feet are now facing you (which should also be the front of the oven). Roast for another 45-55 minutes until the internal temperature registers 160* and the juices run clear. Let the bird rest under a tin foil tent for at least 10 minutes after pulling it out so the juices can redistribute throughout the meat. This will ensure you have a nice moist bird. Actually this process should be done with just about every meat you cook, so you should factor this into cooking time. The bigger the meat, the longer it should rest. During this period, if the potatoes don't look browned enough feel free to put them back into the oven and cook another 10 minutes or so.
Serve Hot and Enjoy!
No comments:
Post a Comment