Butera Family Cannoli
What You Will Need
Now here are a few things to keep in mind before you attempt if yourself...
1. Don't rush the process. Let the dough sit for the full day, roll carefully and watch the temperature on the oil otherwise your shells will burn. This is love people, what's the hurry?
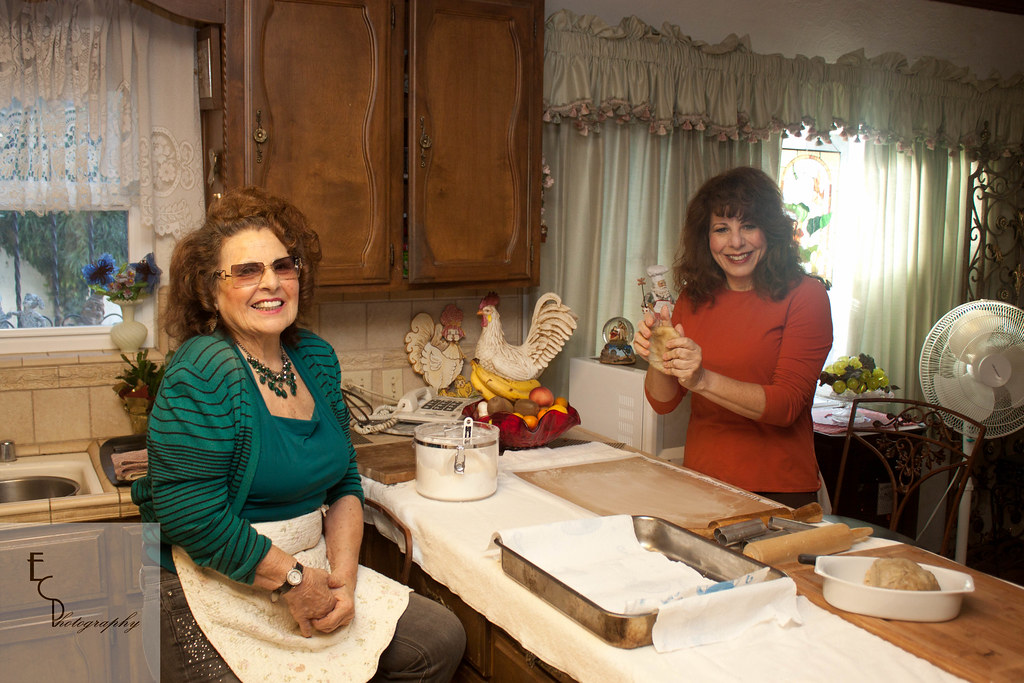
2. It is helpful to have extra hands in the kitchen the day you are going to roll and fry the shells. And since your not in a rush, pull up a chair, turn on some Frank, and have a little bonding time.
3. This is the most important according to Grandma Butera. DO NOT FILL UNTIL YOU ARE READY TO EAT. Seriously folks, your shells will get soggy and you do not want a soggy cannoli. Listen to Grandma on this one!
Shells
3 eggs
3 Tbs shortening
3 Tbs sugar
3 cups flour
3/4 cup sherry (or as in the original recipe 1 glass)
Cannoli forms
Combine all of the ingredients until a dough forms, it should be a bit sticky but should not stick to your fingers. Form a solid ball and chill, covered for 1 day.
On a lightly floured surface, working in small batches roll the dough out into a rectangle and cut squares about 4 inches by 4 inches. This is the part where the directions are hard to explain. The key is to get the dough as thin as possible without breaking through. We found that the best way is once the squares are cut, to re-roll them out until thin enough.
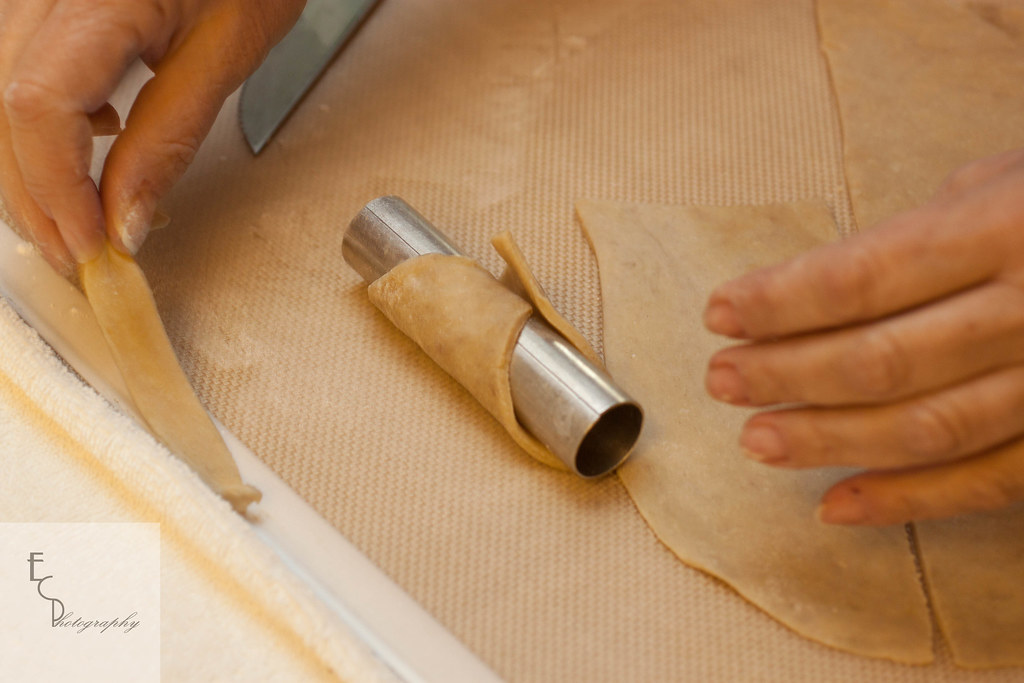
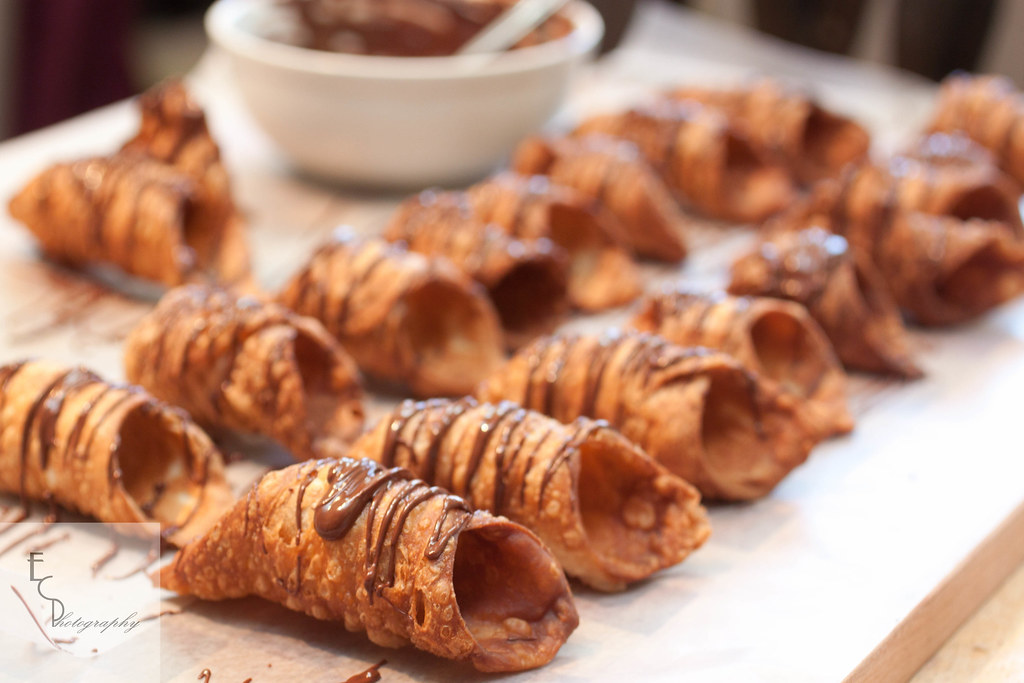
Working one at a time, wrap around the cannoli form diagonally so that there are points on each end. Bringing opposite points together around the form, dip you finger in a bit of water and seal them using the water as a glue. It is very important to make the seal tight so when you fry them they do no pop open.
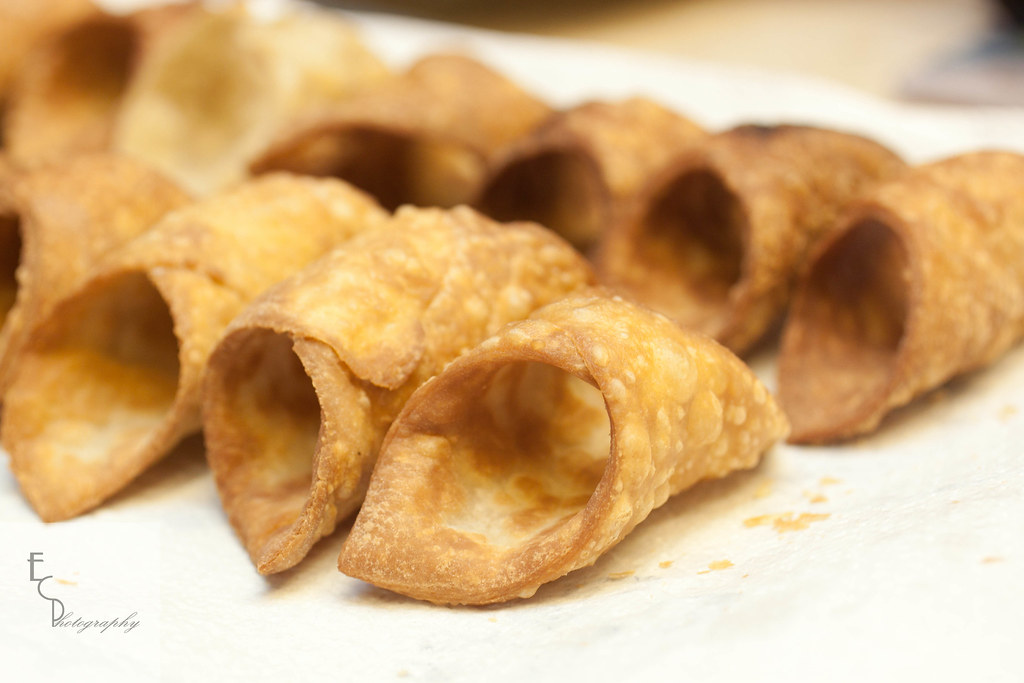
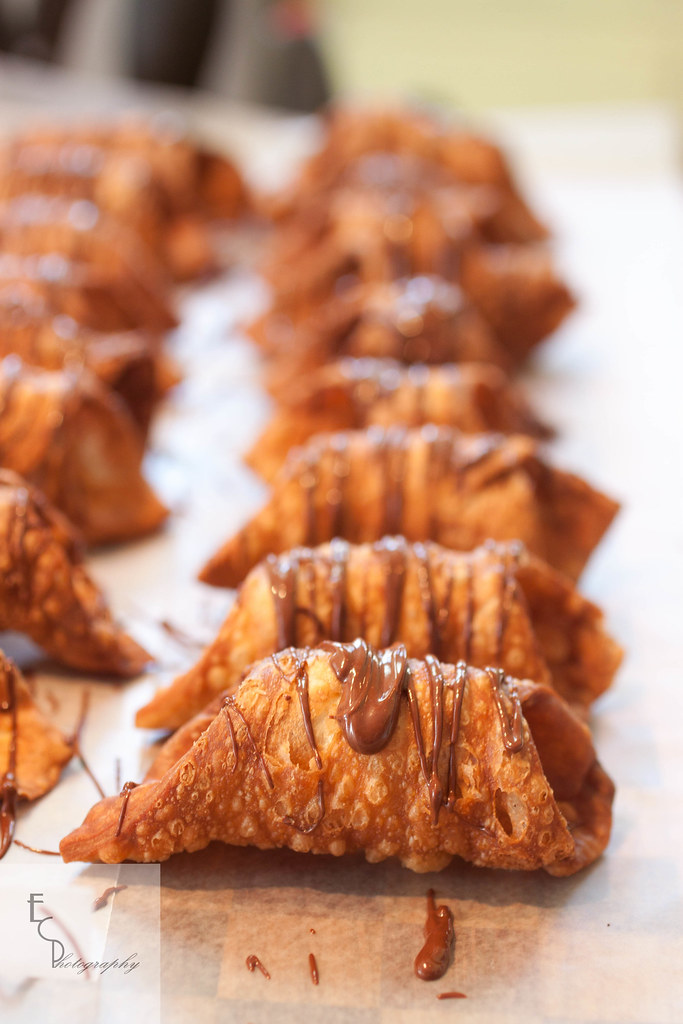
Heat a pot of vegetable oil to 350* and work in small batches to fry the shells until golden brown, about 3-4 minutes each. Drain on paper towels. Continue until all shells are cooked.
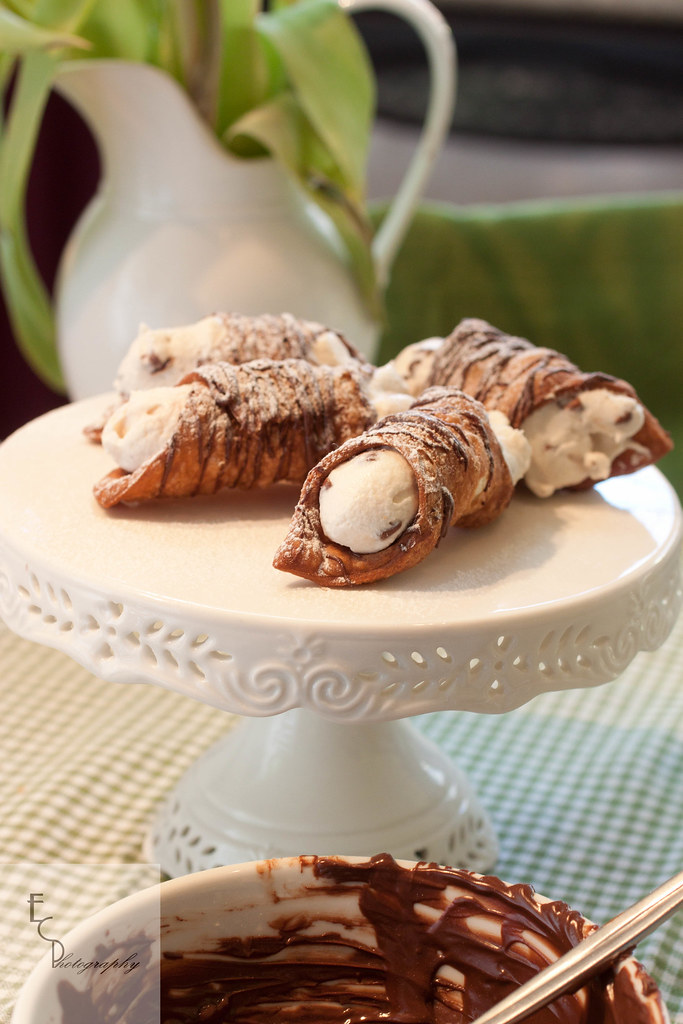
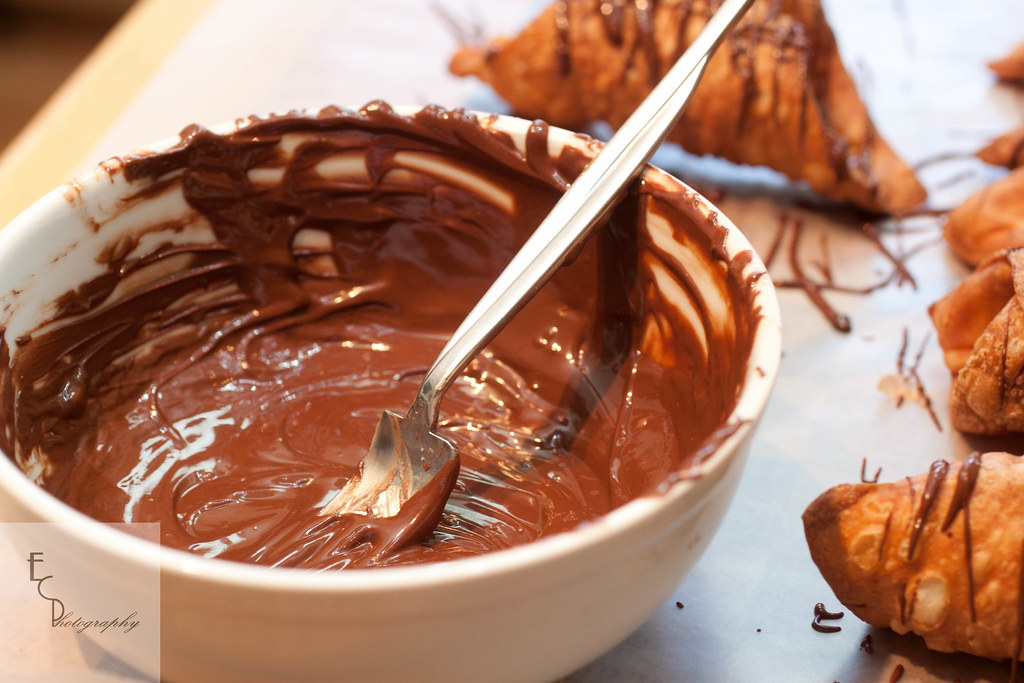
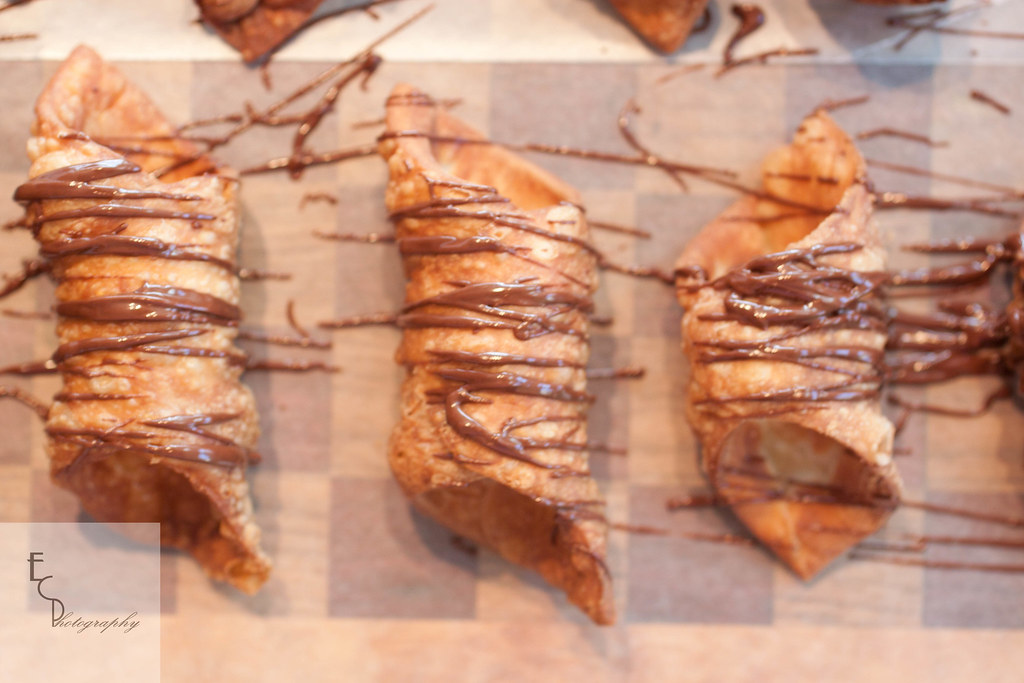
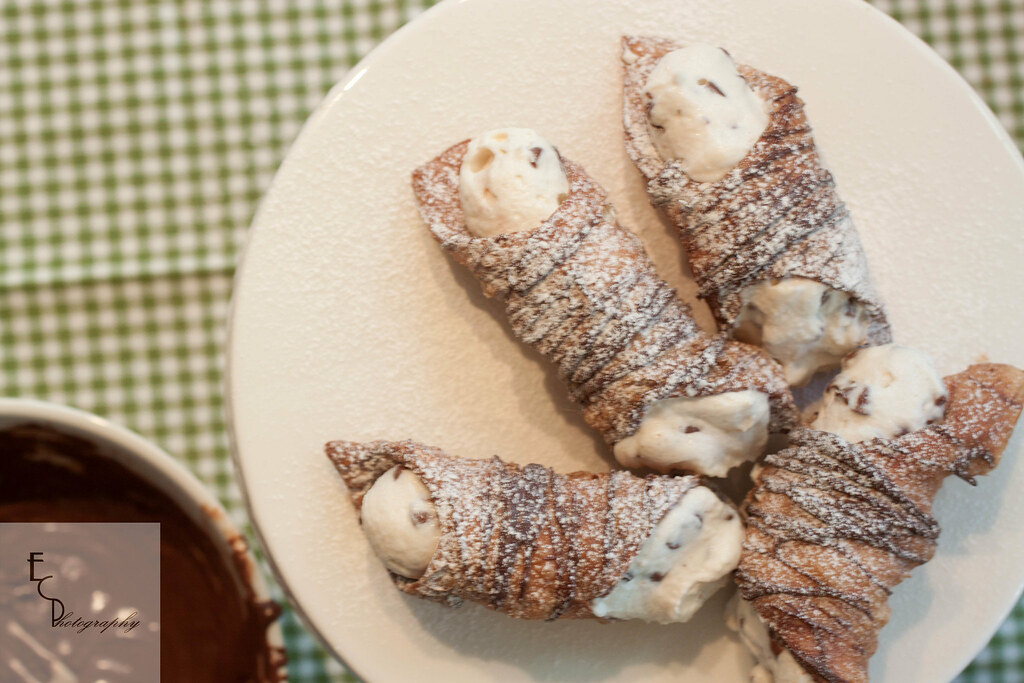
If desired, drizzle some melted chocolate over the shells and let dry.
Un-stuffed shells will keep in an airtight container for 1 month.
Filling
1 lb ricotta cheese
1 cup powered sugar
1 1/2 cups heavy whipping cream
8 ounces mini chocolate chips
1 tsp vanilla
Whip the cream until stiff peaks form, set aside
In a large bowl whip the ricotta, powered sugar and vanilla until smooth. Fold whipped cream into the ricotta mixture until combined. Fold in the chocolate chips.
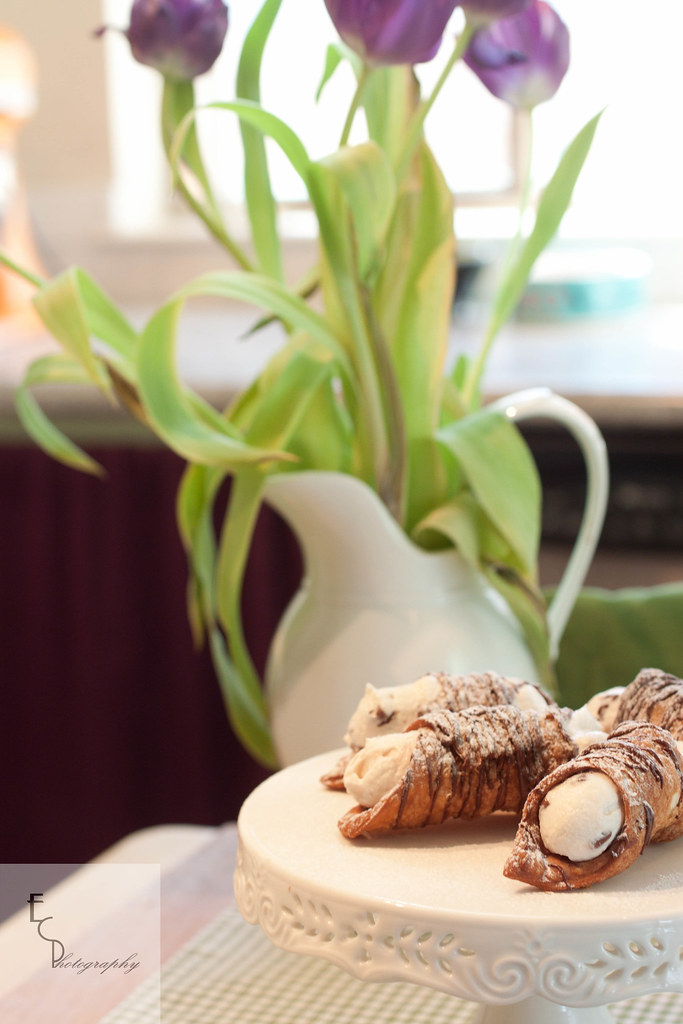
Using a piping bag, fill each shell with a generous amount of ricotta. Sprinkle powered sugar over each cannoli. Serve immediately.








Beautiful post, photos and even better Cannolis....What a wonderful dessert that is:)
ReplyDeleteCANNOLI! I have been craving this for days and then I found your post in my foodbuzz inbox. The cannoli look amazing. I would glady eat them all for you. :)
ReplyDeleteThanks for sharing a family secret! Now if I can adopt me a Nana to make it for me, I'd be set!
ReplyDeleteWhat a beautiful post. The cannolis look amazing! Can I please, please come over and have some of them? I'll bring the tea. :)
ReplyDeleteWhat a marvelous tutorial! Gorgeous pictures and a fabulous family recipe :)
ReplyDeleteThese look amazing! Gorgeous and beyond delicious I'm sure! Delicious way to honor Italian heritage :)
ReplyDeletethese look amazing! i love this classic italian recipe and yours look SPECTACULAR!
ReplyDelete-meg
@ http://www.clutzycooking.blogspot.com
we make savory cannoli with out fillings called Kuzalappam. Like this http://kitchenswathi.blogspot.com/2010/12/kuzhalappam-rice-flour-cannoli-fried.html
ReplyDeleteThis sweet version looks delicious. Love it.
your pictures are absolutely gorgeous + this recipe looks awesome. i'm so jealous of your cannoli-making party - may have to replicate one in our household one day soon. =) thanks for sharing this awesome recipe!
ReplyDeleteBeautiful! Love the background, the photos are all extraordinary, to meet your family and of course the final product. You make your recipes so attainable and simple to follow. Love that. AND the photo of your cute selves in the top right! Mentioned you today along with your life saving beet gnocchi recipe. Hope you are well!
ReplyDeleteThese look like heaven.
ReplyDeleteBeautiful! I want to be a member of the Butera family!
ReplyDeleteI just love it when all the family gathers for a yummy project in the kitchen! And I just had a mouthwatering attack, help!!! Wonderful photos, thank you for sharing :)
ReplyDeleteWhat a beautiful site you have! I'm so glad to have found you
ReplyDeleteI have never had a cannoli, but I have always wondered what they taste like. Your filling looks sinful. How about you mail me one of yours?
ReplyDeletei do love cannoli's, but must admit I never thought about making my own shells....they must be so much better with homemade shells! Can I have a dozen please!
ReplyDeleteCongrats on your top 9!
Dennis
Cannoli is sacred in my household. Thank you so much for sharing this recipe - I'm looking forward to trying it out.
ReplyDeleteI love this post! I love Cannolis!
ReplyDeleteI have some question though, do you fry them while they are still around the tube? And what kind of tube is it? Where can I get it?
Thank you for sharing the family secret!! :)
@Susana: Yes you do fry them on the cannoli forms. You can get them at specialty cooking stores or online I'm sure. My great great Aunt used pieces of bamboo that we still have and work great also. Good luck!
ReplyDeleteHow can anyone resist a Cannoli! :)
ReplyDeleteThese sound amazing. Congrats on your top 9!
ReplyDeleteThis looks heavenly! I cannot wait to try it!
ReplyDeleteHaha, they guy from the bottom looks a little shocked about the cannelloni thing. Why so? I would be thrilled if I could have one of your cannellonis!
ReplyDeleteCongrats on your top 9! I love cannoli! I make them at home all of the time! I am giving you the "One Lovely Blog" Award that you can get here: http://theculturaldish.blogspot.com/2011/02/traditional-irish-soda-bread.html
ReplyDeleteSo awesome...I'm inspired! As my blog has "cannoli"in the title, and I've never made them...this looks great. Beautiful post...love the family aspect! I will be trying this recipe soon!!
ReplyDeleteI love cannolis - love. I remember them from my childhood. I have always wanted to try my hand at them and now I have a great recipe to put to the test. Looks like you had a blast making these. :)
ReplyDeleteAlthough I'm Italian-American, I've never made cannoli, but now that I've read your wonderful tutorial post, I have no excuses. Now following you! I hope you stop by my foodie blog sometime too.
ReplyDelete@Linn - That's Eric trying to figure out how much cannoli he can eat in each bite!
ReplyDeleteThe cannoli looks lovely.
ReplyDeleteI have never made Cannolis myself...yours looks really great, better than those I saw in the bakery!
ReplyDeleteWhat a beautiful post and thing to do with family! My husband goes nuts for cannolis but we've never attempted them at home. We'll have to try your family recipe! I'm book-marking the tutorial!!
ReplyDeleteThank you for sharing a treasured family recipe for with us! I've never made cannolis but this just may inspire me to. Love your pictures too!
ReplyDeleteI've had quite a few cannolis in my life (especially while living in Philadelphia), but have not attempted them myself. Yours look spectacular and what a treasured recipe. Great pictures!
ReplyDeleteHi Ann, Monica, Eric, and Charisse! Enjoyed reading the article and the photos! Your friend, Angela (Angie) Todd
ReplyDeletei love cannolis! thanks for sharing the family recipe, will definitely be trying soon:)
ReplyDeleteOh wow! This is such a beautiful post... stunning photography!!
ReplyDeleteGreat blog; happy I found you!
Mary xx
Delightful Bitefuls